Make your own planter with pavers -- it's a fun (and easy) weekend project that's also relatively inexpensive. Working with pavers allows you to match the hardscaping already used in your yard to create a more cohesive, professional look. And because pavers come in different sizes; add variety to your containers by making several!
 Materials List
(5) Concrete pavers (or pieces of cut flagstone)(1) Tube of landscaping or construction adhesive
 Step 1
Arrange four of the pavers to create the outline of a square; the end of each will overlap with the next one, creating smooth edges all the way around the square. Step 2
Run a thick line of the landscaping adhesive along the edge of each . Be sure to press the pavers together firmly so that once the adhesive dries, it will hold the pavers together. Note: One easy way to keep your pavers in place while they dry is to wrap them in bungee cords. Step 3
Once the adhesive dries and cures (typically it takes about 24 hours, but read the directions on the product packaging), apply the adhesive along the inside top edge of each . Set the fifth on top of the others and allow the adhesive to cure and dry. This fifth will become the bottom of your planter.Once the adhesive has cured and dried, turn your planter upside down and fill with potting mix (don't use garden soil). After that, you're ready to plant!
Tip:
You may need to apply new adhesive every year or two, depending on the quality of the adhesive, your climate, and other conditions.Plants for Paver Planters
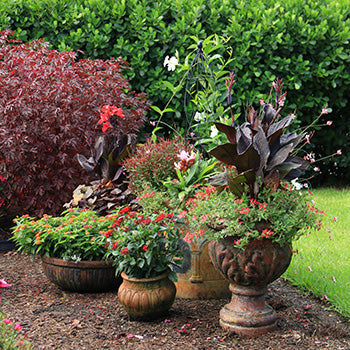
You can use just about any of your favorite annual plant varieties in these planters. Because stone can get warm in sun, heat-loving varieties such as angelonia, and pentas are particularly good choices. We also love the look of low-care cacti and succulents in paver planters. Check out an assortment of our favorite succulents!Container Gardening Questions? We love to talk to other gardeners. Email us your questions and we'll have one of our experts get back to you!
