1. Pick Your Plant Based on Light
Determine the amount of sunlight in your space – and choose your plant accordingly. Start by figuring out which direction your windows face. If there’s something outside the window (a large tree or building, for example) that could obstruct sunlight, make sure to take that into consideration.
South-facing windows provide bright light for the majority of the day. Choose almost any plant, and situate them a few feet or more from the windows, depending on whether they prefer direct or indirect light.
East- and west-facing windows both provide medium light for the majority of the day. Keep your plants well within a few feet of the window, or choose a plant that tolerates moderate to low light.
North-facing windows provide the lowest level of light. Choose plants that can tolerate low-light conditions and keep them as close to their light source as possible. Remember that while nearly all plants prefer bright light - be careful to protect them from intense direct sun. A good rule of thumb: if the sun is intense enough to burn your skin, it will certainly burn your plant’s leaves. To protect your plants from roasting, draw a sheer curtain during the day or move them a foot or two away from the window.
2. Be Mindful of Your Schedule
Be sure to consider your daily schedule, travel frequency, and general forgetfulness while you decide on a plant. If your absentmindedness is what stands in the way of plant ownership – pick a plant that thrives from neglect. If you have bright light, try a succulent or cactus, and if you have low light, try a snake plant or ZZ plant. Truly, the only way to kill those four varieties is over-care.
3. Do Not Overwater Your Houseplant
Beware of overwatering; it’s the easiest way to kill a plant. You may be tempted to water your plant on a set schedule, but the best thing to do is to water it only when needed. Always check the soil first before giving it a drink. A telltale sign your plant is past due for a watering: wilting plant leaves or soil pulling away from the sides of the planter. If the soil is darker in color and sticks to your finger, your plant should be fine for the time being.
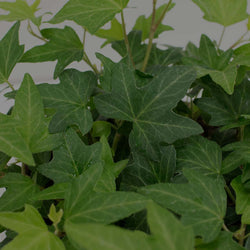
https://www.costafarms.com/plants/ivy
Always use tepid water to water your plant. Let the potting soil soak up the water for about 15-30 minutes, then empty any remaining water from the saucer.

4. Increase Humidity When Necessary
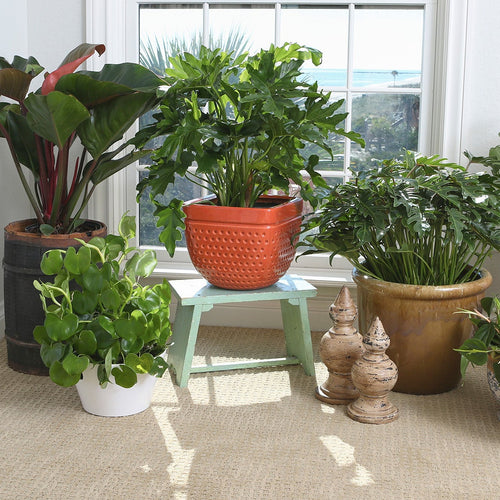
For plants that prefer more humid conditions such as ferns, ivies, or tropical plants, mist them using a small spray bottle in between waterings. During the dry months of winter, grouping your plants together helps to create a humid microclimate. A humidifier can help, too.
5. Keep Your Plant's Environment Stable
Plants, just like us, are most comfortable between 65 and 75 degrees. Extreme fluctuation in a plant's environment can seriously stress them out. Do your best to avoid placing your plant near temperature hazards like vents, radiators and exterior doors, which might create hot or cold spots and drafts.
6. Forgo Fertilizer
If you’re a novice, stay away from fertilizer. It’s another easy way to kill your plant. Plants get minerals from the air, water, and their potting mix – and are nourished and energized by sunlight. It is entirely possible to have a healthy plant without additives! If you do choose to fertilize your plant, only do so during the growing season and follow the general rule of thumb 'less is more'.
7. Purchase a Healthy Plant from a Reputable Source
Do your best to buy a quality plant from someone with at least some expertise. In most cases, you’ll want to stick to your local nurseries, garden centers, and specialty stores or florists. Definitely give your plant a once-over before purchasing -- watch out for yellowed leaves, powdery mildew, leaf spots, brown leaf tips, weak or wobbly stems and other obvious signs of poor plant health.

8. Show a Little Extra TLC in the Beginning
Show your new plant a little extra attention in the beginning. When you bring a new plant home for the first time, establish a routine of checking in with it every 3 to 4 days. A little extra attention can go a long way. Slight environmental can cause fluctuations in the frequency of your care, so best not to just assume “every Monday is watering day.” Besides, it’s nice to check in and say “Hello” to your plant every few days!
9. Do Not be Afraid to Repot
A common misconception, repotting does not necessarily mean putting your plant in a new planter, but rather, changing its soil or potting mix. This is because plants receive some of their nutrients from their soil. Great news if you love your planter. But if you’re looking to splurge on a new one, try to choose one no more than 2-4 inches larger than the current planter, depending on plant-size - i.e. you do not want your plant swimming in soil. It is best to repot in early spring, before the growth season starts.
10. Create Drainage for Your Plant
If your plant’s planter does not have a drainage hole at the bottom to allow excess water to escape from the soil, it is important to create makeshift drainage. You can do this by lining the bottom of your planter with rocks and sand. We recommend using lava rocks because they are porous. This added precaution could help you from overwatering your plants in the long run.

The Sill was created with a simple ambition -- to inspire people to bring more of the outdoors in. Our mission is to make the experience of discovering the perfect plants as wonderful as the plants themselves. The Sill is the source that bridges the gap between plants and people -- offering products and services that to fit with your personal style, your lifestyle, and your budget.
