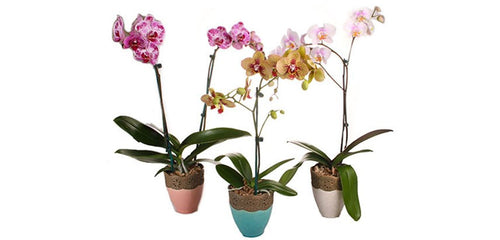
Moth orchids typically bloom in winter, then send out new growth—roots and leaves—in spring. When the blooms have faded and the new growth has just started, it’s an ideal time to repot regardless of the time of year.
So why do you need to repot your orchid? Since orchids grow in a loose potting medium, instead of soil, the potting medium can break down over time and needs to be replaced and refreshed. It’s not difficult though. In fact, repotting an orchid is more like disassembling it and removing the potting material, then reassembling it with new medium.
 MATERIALS
New orchid pot
Choose a pot that will hold the root mass and potting material. The proper pot size should be determined by the size of the roots. Don’t choose a container that is a great deal bigger than the original pot. Make sure it has ample drainage holes or use a container specifically created for orchids (which has air holes around the circumference).
Orchid medium
There are many different types of mediums that orchid roots can happily grow in. You can use the same material that your orchid was originally planted in or change it. Common materials include bark, moss, peat moss or rock. Do not use regular potting soil.
Pruners
Use a pair of clean, sharp pruners to cut off dead roots.
STEP-BY-STEP
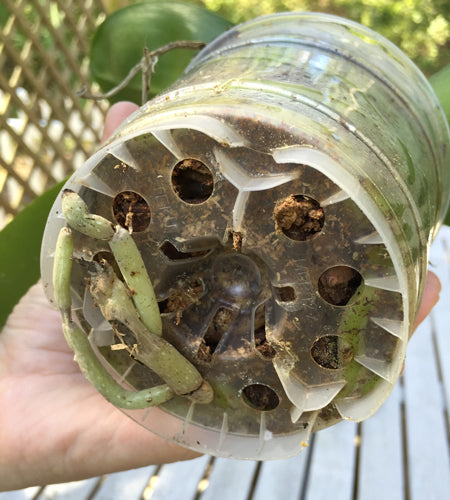
Step 1 Remove the root ball.
Remove the orchid from its original pot. If the roots are tightly wedged into the pot, gently work them free. Take care not to break the roots; they can be brittle.
Fun fact: Did you know orchid roots contain chlorophyll? That's why you often see orchids grown in clear plastic pots. The roots absorb extra light to help the plants thrive.

Step 2 Clip off dead roots and stems.
Spread out the roots on a clean work surface. Remove potting medium from around the live roots. Clip off dead roots and stems and discard. Dead roots are dried and light brown. Healthy, well-hydrated orchid roots are gray green.
If your orchid has been getting too much water, you might find that the roots are brown or yellow and soft and mushy. If you see this while repotting your orchid, you can water your orchid a little less after repotting to help avoid overwatering.

Step 3 Repot orchid.
Place orchid in new larger container. Gently poke the potting medium around the roots. Keep in mind that the medium is there to cradle the roots. Then water well. Make sure the water flows through the medium and out of the bottom of the container. It’s important that there is no place the water can pool inside the container because the roots should not be exposed to long-term moisture.