By Doug Jimerson
Plant groundcovers to transform challenging bare spots in your landscape into a carpet of color. These tough-as-nails perennials will quickly cover open spaces. Once established, most groundcovers grow dense enough to choke out weeds making them a low-maintenance alternative to lawn grass. Here’s what you need to get started.
Estimated Time
1-2 hours depending on space/plants
Materials
- Groundcover plants
- Rake
- Trowel
- Cardboard
- Mulch
Step 1: Select Groundcover Plants
Read the plant tag before you buy. It should tell you how much light a particular species requires. As a general rule, sun worshippers require at least 6 to 8 hours of direct sunshine a day. If the area you want to plant groundcovers in receives less then 6 hours of sun a day, go with a shade lover.
Note:
Groundcovers are sold in a variety of sizes: 4-inch pots, 6-inch pots, full flats, and quart sized pots. Because groundcovers grow quickly you can save some money by buying smaller pots. Just remember that the smaller plants may take an extra season to catch up to their larger cousins, so if you want instant impact, go with a larger size. In some locations, you can also plant groundcover “tiles” which you simply roll out over the surface of the soil as you would sod.
Top Ten Groundcovers for Sunny Spots
- Sedum
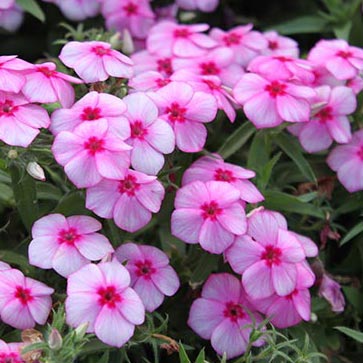
- Creeping phlox
-
Hens and chicks
- Mondo grass
- Rock cress
- Ice plant
- Dianthus
-
Blue fescue
-
Candytuft
- Thyme
Top Ten Groundcovers for Shady Spots
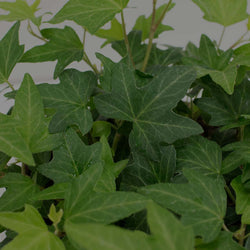
- English ivy
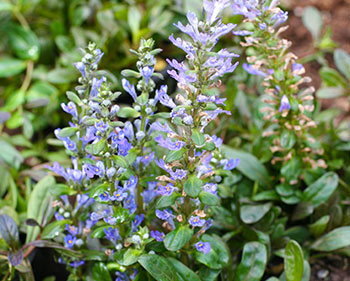
- Ajuga
- Lamium
- Creeping Jenny
- Vinca
- Hosta
- Pachysandra
- Fern
- Rock foil
- Epimedium

Step 2: Prepare Soil
Before planting groundcovers, remove any weeds or turf grasses. If the area was in lawn previously use a sharp spade to remove the grass, roots and all. Then improve the soil by adding as much organic matter as possible (compost, rotted manure, shredded leaves). Spade or till the material into the top several inches of soil. Next, rake the area smooth.

Step 3: Plan
Read the label to find out the correct spacing for your plants. Then set them into position while they are still in their pots. This way, you can move them around before you plant the groundcovers so you’ll know if you have enough to cover the area.
Avoid planting groundcovers in straight lines. Instead, create a more natural look by using a cardboard triangle as a template that will also insure proper spacing. Set the triangle on the soil and plant a ground cover at each corner. Move the triangle to the next space and repeat until you have the entire area planted.

Step 4: Plant
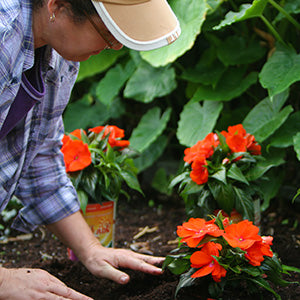
Planting groundcovers is easy. Simply pop them out of their pots and plant them at the same depth they were growing previously. If the plants look root bound (a solid mass of tightly packed roots) gently tease the roots apart before sinking the plants into the soil. Then, water the bed thoroughly.
Groundcover Care
Mulch groundcovers right after you plant them. This reduces weed competition and maintains consistent soil moisture. Most groundcovers spread by underground runners or by rooting along their stems, so use a loose mulch such as shredded bark that allows the plants to penetrate the soil. Your groundcovers won’t be able to spread if you mulch with plastic or landscape fabric.
Keep groundcovers slightly moist for the first week or so and then water only when the soil feels dry. To encourage new growth you can also sprinkle a little granular, slow-release fertilizer over the bed, although most groundcovers will do just fine without additional fertilizer.
Get tips for shopping for groundcovers!
Groundcover Questions?
We love to talk to other gardeners. Email us your questions and we'll have one of our experts get back to you!
